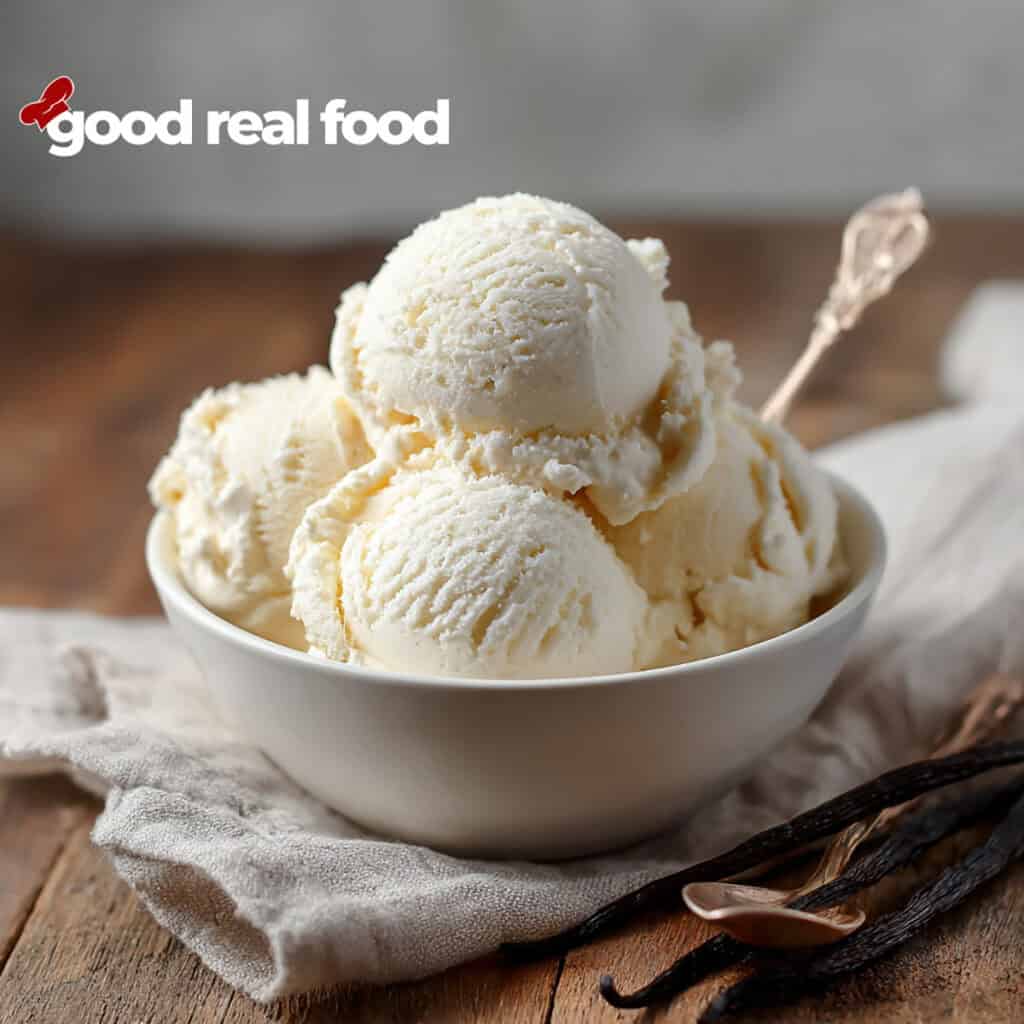
No-churn ice cream is the ultimate summer treat, creamy, dreamy, and ready for the freezer in minutes with no fancy equipment required. Whether you’re new to homemade ice cream or just looking for a quick and crowd-pleasing dessert, this recipe is as simple as it gets. You can scoop it into cones, serve it with fresh fruit, or drop a big spoonful into this Root Beer Float for a fizzy, nostalgic dessert everyone will love!
Why You’ll Love This No-Churn Ice Cream
- No ice cream maker needed – Just a mixer and a loaf pan.
- Only 4 ingredients – Heavy cream, sweetened condensed milk, vanilla, and salt.
- Customizable – Add chocolate chips, fruit, swirls of caramel, chocolate syrup, or crushed cookies such as Snickerdoodles or Chocolate Chip Cookies. Top with homemade whipped cream for a special finishing touch!
- Perfect texture – Smooth and scoopable, just like churned ice cream.
Tips and Tricks for the Best Results
- Chill your mixing bowl before whipping the cream. It helps achieve the perfect soft peaks.
- Don’t over-whip the cream, you’re looking for soft to medium peaks, not butter.
- Gently fold the whipped cream into the sweetened condensed milk to keep the mixture light and airy.
- Cover tightly with plastic wrap or an airtight lid to prevent ice crystals from forming.
Substitutions and Flavor Ideas
- Swap vanilla for peppermint extract and add crushed candy canes.
- Fold in cookie crumbles, fudge swirls, or fruit jams for a flavor explosion.
- Use chocolate condensed milk for a rich twist.
- Add a pinch of sea salt and caramel for a salted caramel version.
How to Store No-Churn Ice Cream
Store the ice cream in a freezer-safe container with a tight lid. Enjoy within 2 weeks for optimal flavor and texture. Pro tip: Rest on the counter for 5-10 minutes before scooping.

No Churn Ice Cream
Ingredients
- 2 cups heavy whipping cream, cold
- 1 can (14 ounces) sweetened condensed milk
- 2 teaspoons vanilla extract
- ¼ teaspoon kosher salt
Instructions
- Pour the cold heavy whipping cream into a large mixing bowl. Using a hand mixer or stand mixer fitted with the whisk attachment, beat the cream on medium-high speed until stiff peaks form. This will take about 2-3 minutes. The cream should be thick and hold its shape when you lift the beaters.
- In a separate medium bowl, add sweetened condensed milk, vanilla extract, and kosher salt. Whisk together until fully combined and smooth.
- Gently fold the sweetened condensed milk mixture into the whipped cream using a silicone spatula. Use slow, folding motions to avoid deflating the cream. Keep folding until no streaks remain and the mixture is smooth and fluffy.
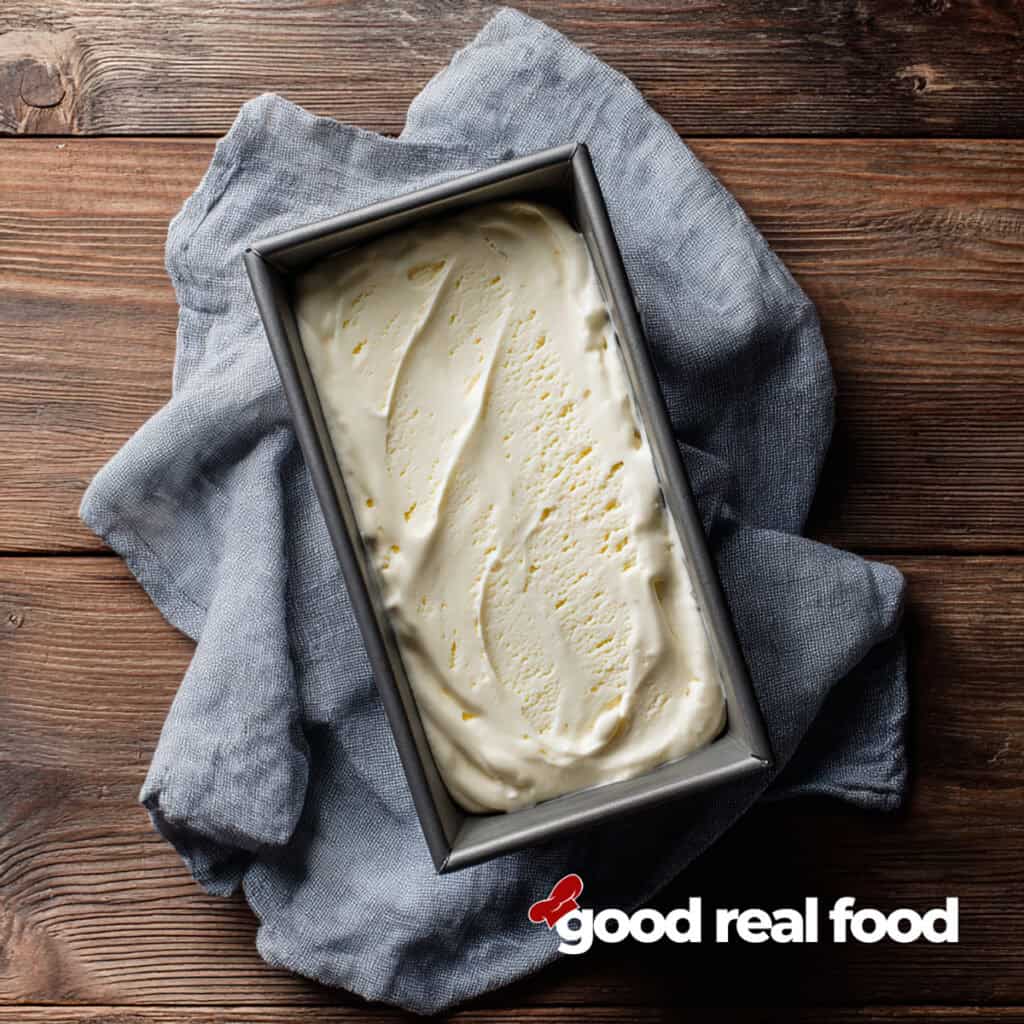
- Pour the ice cream base into a loaf pan or freezer-safe container. Smooth the top with a spatula. If you want to add any mix-ins (like chopped cookies, fudge swirls, or fruit), this is the time to gently fold them in or layer them on top.
- Press a piece of plastic wrap or parchment paper directly onto the surface of the ice cream to prevent ice crystals from forming.
- Freeze for at least 6 hours, or overnight, until completely firm.
- Let the ice cream rest at room temperature for 5-10 minutes before scooping for the creamiest texture.
This recipe was inspired by iambaker’s No-Churn Ice Cream.
Amazing Desserts!
See More →
Lemon Blueberry Blondies
Lemon Blueberry Blondies are soft, chewy bars bursting with lemon and blueberries, topped with a sweet glaze for a fruity, buttery treat!

Strawberry Dream Dip
Strawberry Dream Dip is a creamy blend of whipped topping, cream cheese, gelatin & strawberries—delicious with pretzels or graham crackers!

White Chocolate Macadamia Nut Cookies
White Chocolate Macadamia Nut Cookies are buttery, rich, and loaded with the sweet creaminess of white chocolate.